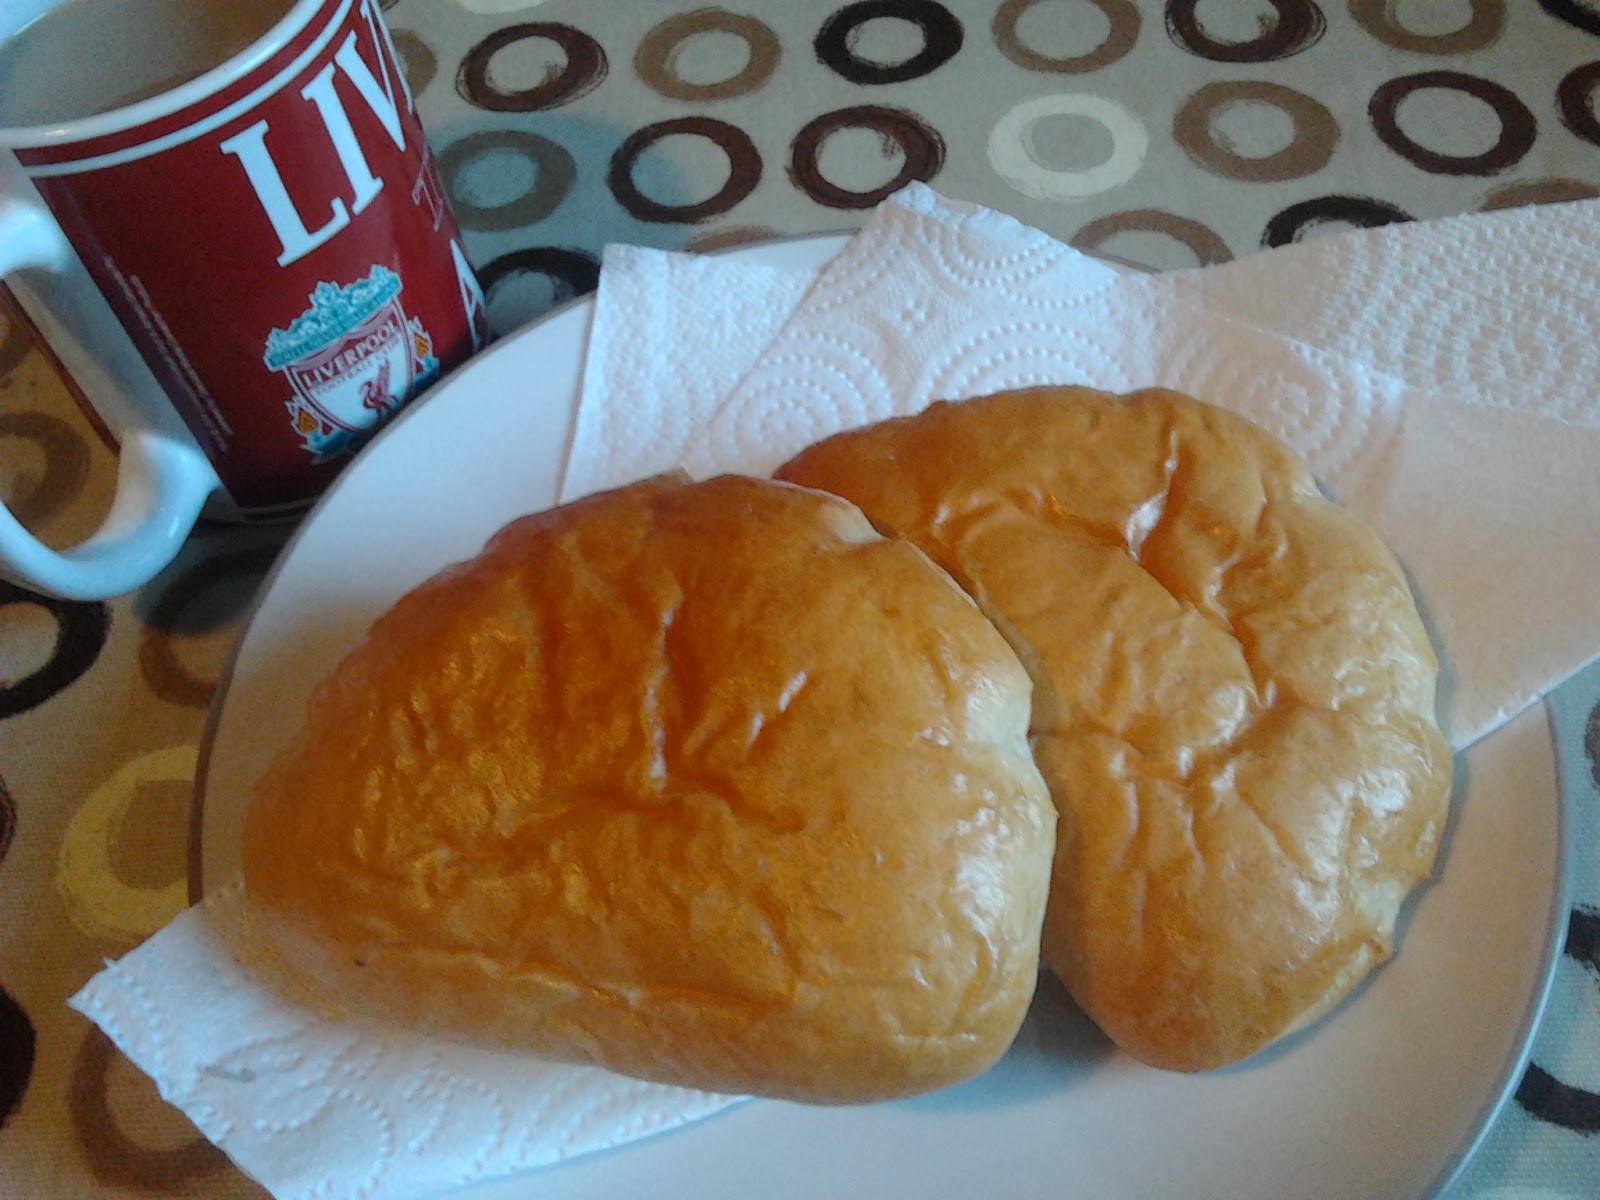
Pain de mie (Square loaf) -
Sandwich bread
I started this bread making because
I wanted to make this. Pain do mie is a French word which actually means the
"soft part of bread". It can be used for any sandwitch bread but I
use this title for the one I used to eat in Japan, really testy and smooth
sandwitch bread.
I already tried 3 times and it has
been much challange than I thought in begining. but once it is done, the tast
and the texture is too rich to forget.
Ingredients (for a 450g lidded loaf
pan)
|
450g lidded loaf pan
|
|
+ 4 breakfast buns
|
|
Bakers %
|
Strong Flour
|
260
|
|
360
|
|
(100%)
|
Sugar
|
16
|
|
22
|
|
(6%)
|
Salt
|
4
|
|
6
|
|
(2%)
|
Dry yeast
|
5
|
|
6
|
|
(2%)
|
Skim Milk
|
5
|
|
7
|
|
(2%)
|
Butter
|
22
|
|
30
|
|
(8%)
|
Honey
|
11
|
|
15
|
|
(4%)
|
Milk
|
195
|
|
270
|
|
(75%)
|
Total
|
518
|
|
716
|
|
|
* Need some extra strong flour for dusting table, extra butter for pan, roll
bar, sharp knife or dough scraper, spatula 45*45cm clean flat smooth
surface for kneading, a 450g lidded loaf pan (I got this from Amazon), a tea towel - wetted, large
oven tray (for bench time).
Method
1. Cut the butter for adding later
into 1-2 cm cubes and keep them in fridge.
2. Put the Kneading blade in to the
bread pan. (It has only one direction to slot in and not easy to lose)
3. Scale and put all ingredients except butter in bread pan in above list
order.
5. Plug in the Bread Maker, place the bread pan in the BM, then select Basic
dough menu (Menu 16 for Panasonic SD-2501) and press Start button. Wait until
the dough to be ready.
6.
Wait for 50 minutes and when the kneading phase start, put butter in
bread pan (just open the lid, put in to the bread pan, then close it).
7. While you are waiting for
dough to be ready, dust the clean smooth surface (about 45*45cm required) and
large oven tray (if it is not smooth then wrap the surface with foil) with
extra strong flour. Butter all inner surface of loaf tin including the lid very
thinly. Wet the tea towel and wring out the towel very well.
8. When the dough become ready,
press Stop pad and remove bread pan from the bread maker.
Remove the bread pan from the bread
maker and place the dough on the dusted surface. At this point, the dough is
really puffy and still sticky. You can dust a bit of strong flour over the
dough before take it off and punch down once, then use spatula to pull the
dough in one side then slowly pull out the dough to the surface. Try not breaking
or cutting the surface of the dough as much as you can avoid.
9. Once the dough is out on the
table, knead the dough slowly with splashing really minimal amount of extra
strong flour over the dough. By doing this, we want to squeeze out any large
air bubbles inside the dough.
10. Once the dough is settled (about
2-3 minutes of kneading), we'll cut the dough in to required size pieces. Using
scale cut the dough in to 2 large equal weight pieces. If you made the dough
for + 4 break first buns, then take 200g dough out first then cut the remaining
dough into 2 equal pieces of dough. Then cut the 200 g piece in to 50g small
pieces.
11. Smooth each cut out dough pieces
to smooth balls; try to pull the surface to cover the cut area and pull in all
to the bottom of ball and gather well, then place them on the dusted oven tray,
with enough space between them. Cover the oven tray with all dough balls using
the wet tea towel, leave it with room temperature for 15minutes (bench time).
<Loaf>
 12. Dust some strong flour again on
the table, take each ball of dough on the table, splash a bit of strong flour
on the top makes it easier to handle. Rub the roll bar with a bit of strong flour,
and then gently roll the dough in to about 15*20cm rectangular sheet. When you
roll the dough, try to squeeze out all big bubbles from inside the dough.
12. Dust some strong flour again on
the table, take each ball of dough on the table, splash a bit of strong flour
on the top makes it easier to handle. Rub the roll bar with a bit of strong flour,
and then gently roll the dough in to about 15*20cm rectangular sheet. When you
roll the dough, try to squeeze out all big bubbles from inside the dough.
 13. Place the sheet of dough - short
side face to you. Fold both left and right ends (of long side) to the center
vertical line. Pinch and squeeze together the edge of both ends so it becomes
long flat tube like.
13. Place the sheet of dough - short
side face to you. Fold both left and right ends (of long side) to the center
vertical line. Pinch and squeeze together the edge of both ends so it becomes
long flat tube like.
 14. Roll the tube again with roll
bar very gentry to just make the tube a bit more flat.
14. Roll the tube again with roll
bar very gentry to just make the tube a bit more flat.
15. From near to you side, pull the
end of tube to a bit to left and right then roll the tube up. The roll should
not leave any air gap between but you don’t want to squeeze up too. Roll it
just gentry. Again, pinch and squeeze the ending to the roll so the tube will
not loosen easily.
16. Place the roll in the buttered
loaf pan, the ending part at the bottom and along with one short side.
17. Repeat the process and make
another roll of dough then place the roll just a side of the first one (not at
the other side end).
 18. Cover the loaf pan with the wet
towel, leave it at the warm corner of your home or in oven with 40 degree. The
dough can rise between 30 & 40 degree so if your home is not warm enough
then you need to place them in oven.
18. Cover the loaf pan with the wet
towel, leave it at the warm corner of your home or in oven with 40 degree. The
dough can rise between 30 & 40 degree so if your home is not warm enough
then you need to place them in oven.
19. Keep the loaf pan in oven until
the dough rise up till about 1-2cm below the top edge then close the top lid.
For my home oven it takes about 1 hour. If you are not sure when, you can do
close the lid enough before 2 cm below the top but cover around by wet towel,
then wait until lid cannot open (once dough get rise till top, lid will not
open easily.) If you forget and the dough rose over the top line, forget about
lid but continue the next. Closing lid after over rise is not going to work.
20. Turn up the oven temperature
until 175 degree and bake for 5minutes, then turn it up until 200 degree and
continue baking for next 35 min. This baking time is really depends on the oven
so you may need to check the bread colour to adjust the time, may take few times
to learn...
21. Take out the loaf pan on
wire cooler (with mittens). Open the lid and make sure the bread colour is nice
golden brown, then cover the lid again, drop it from about 20 cm high (this
will press out all humid air from inside the loaf).
- If the bread colour is not enough
brown when you open the lid then close the lid again, put it back to bake and
check each 5 min (you need to learn how long it take for your oven) until it
gets golden brown.
22. Take out the lid and take the
bread out the tin. Bread may not easy to come out; you may need to cut through
each side by bread knife along the loaf pan.
23. Leave the loaf on the wire
cooler until it get warm but not hot. Put the loaf in a clean plastic bag
without closing the bag, leave it on the wire cooler until it gets completely
cool down. By the time, the plastic bag must be soggy with the humidity. Take
the bread out then make the plastic back in-and-out, place back the bread in
the bag again. This way, the bread will be more moisture and nicer but will not
last long (3-4days in winter).
If you want to keep the bread
longer, you better wait until the loaf is completely cool down.
<Break first buns>
12. Dust some strong flour again on
the table, take each ball of 50g dough on the table, then gently roll the
dough in to about 20cm long thread by your hands. Take the thread then gently
tight a knot, pat it to a roughly a ball shape then place it on the dusted oven
tray back. Don't worry if the end of thread cannot go through the hole completely;
just make it as roughly a ball shape.
13. Cover the oven tray with the wet
tea towel, place it in oven with 40 degree, and wait to rise for 20min.
14. Take the wet towel then turn up
the heart to 180 degree, bake them for 20 min or it gets nice golden brown
colour.
15. Take them out on to the wire
cooler. As soon as it get enough cooler as you can hold, you can start to eat,
just made one is so lovely, you cannot stop smiling.
Once it get totally cool down then
you can keep them in a plastic bag, they were so soft and nice next day
too.
- You can put some puppy seed or extra strong flours dust on the rose dough balls after step11 if you like