Thursday 24 April 2014

田楽とうふ - Dengaku tofu - BBQ tofu


Yes, Tofu on BBQ. It's a bit sound strange but one very traditional street food.
A bit crunchy outside, melting soft and burning hot inside, the rich sweet sauce makes the simple ingredient so tasty. Yummy.
Dengaku is the style of BBQ in Japan, and the sauce is called Dengaku-miso, commonly used on boiled or BBQ ingredients. The real sauce requires Hacho-miso, which really difficult to find outside of Japan. Instead I used Hoisin sauce which you'll be able to find at any Chinese glossary stores, but amazingly similar taste.
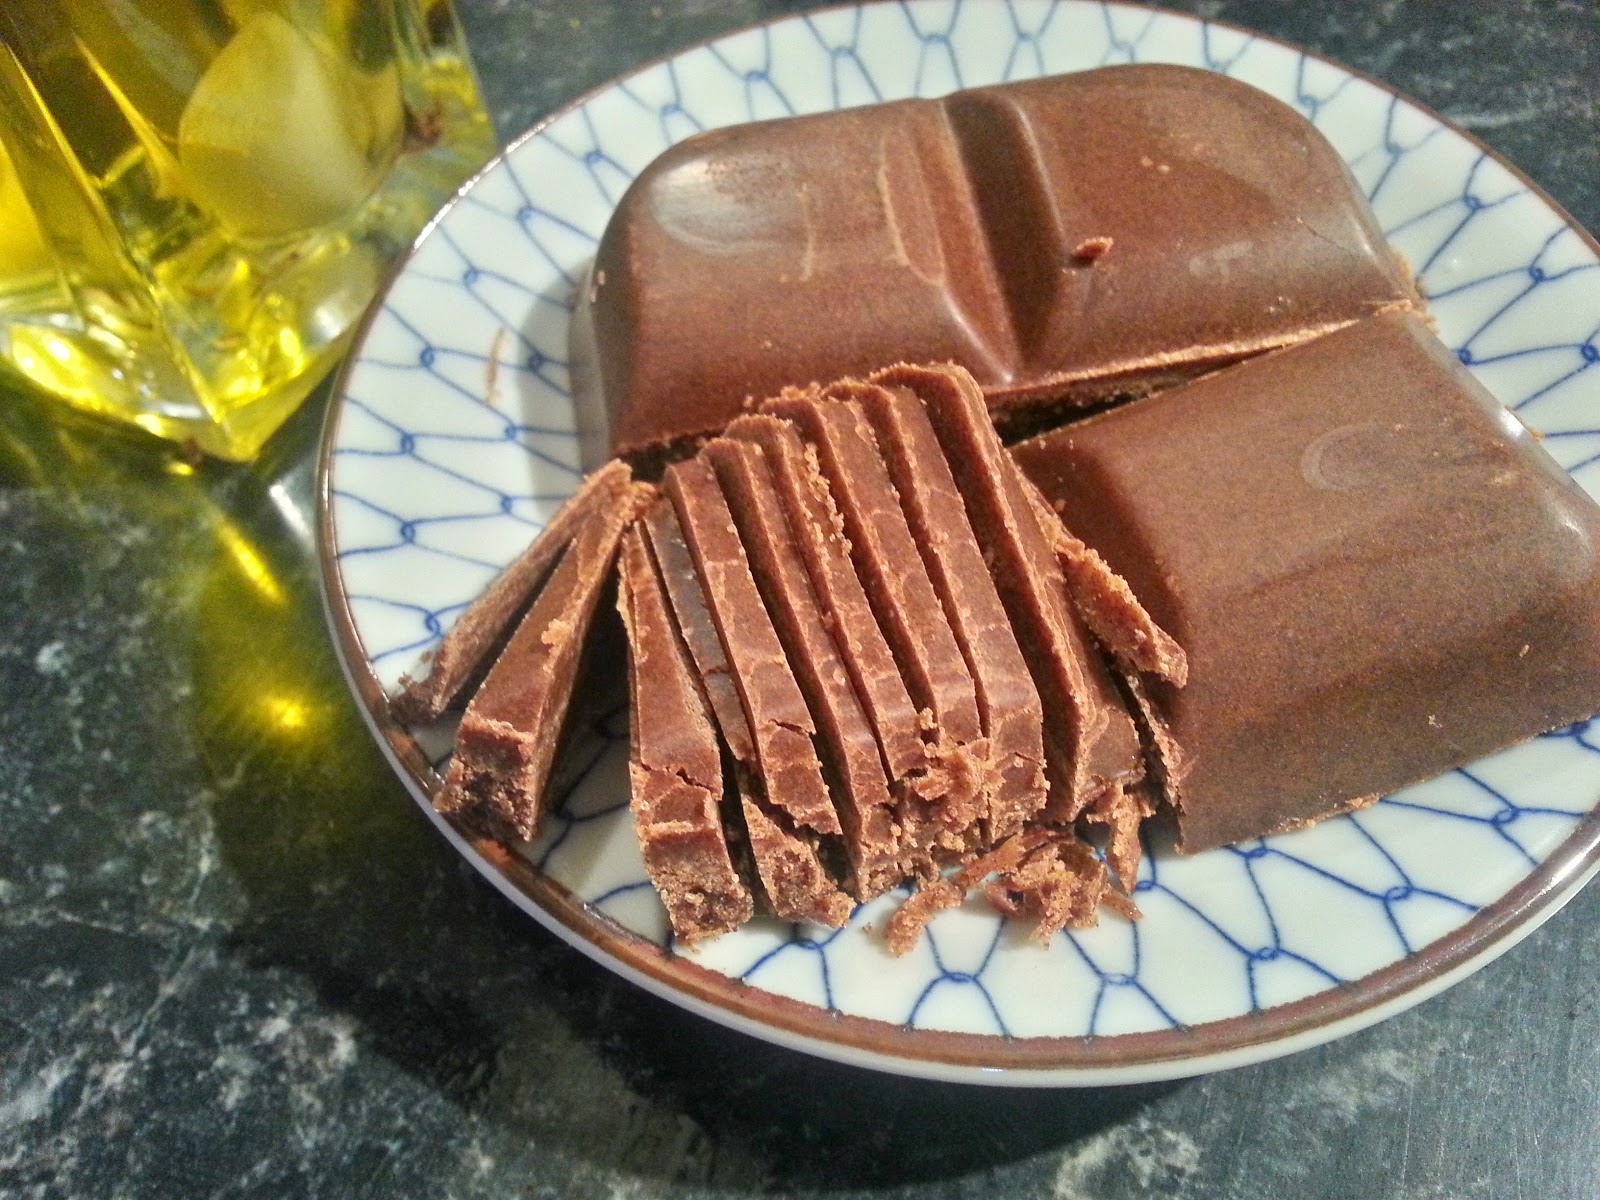
Unfortunately I had no chance to take photo of the real BBQ ones, it was too difficult to stop people eating them before taking any good shot. So this is a picture from the few left slices, I've repeated using a regular frying pan. Still, it was really good.

Ingredients:
1 pack Tofu (1 pack of Tofu makes 3 servings. Multiply by how much you want to prepare)

for Dengaku-miso sauce (easy amount to mix, for about 2-3 packs of Tofu):
2 Tbsp white miso
2 Tbsp Hoisin sauce
1/2 Tbsp soy sauce
2 Tbsp sugar
1 Tbsp mirin
(or 2.5 Tbsp sugar + 1 Tbsp sake, or 2.5 Tbsp sugar + 1 Tbsp water)
1 Tbsp sesame seeds

Required tools:
6 BBQ skewers
few kitchen papers
* 2 cutting boards - not too smooth ones
* a plate or kitchen towel
(* or instead, a large strainer, a large plate)
Some weight e.g. 2 coke cans

Methods:
1. Drain water from Tofu. This is a very common basic step for using Tofu when you want to use them for many recipes. Take out the Tofu from package, easily rinse under water.
Now prepare the platform to drain them. Place a cutting board just beside of your kitchen sink; one side to be over the edge of sink and elevate the other side few cm higher than the edge of sink using a plate (up-side down) or rolled up kitchen towel, so the cutting board makes a slope down to the sink. Now place Tofu on the cutting board, then place another cutting board over them, then place some weight - about 2 cans of coke.
1. Alternative step: If above step is difficult, instead wrap the Tofu by a kitchen paper, place it on a large strainer, place something flat like a plate larger than the Tofu, then place 2 cans of cokes.
2. Leave it for at least 30 min, ideally 1 hour. Pat any water around Tofu by new dry kitchen paper and place the Tofu on a cutting board.
3. Cut them into 3 long and thin slices.
4. Place one of the slices on cutting board, the largest surface up, then skew from the smallest surface using 2 BBQ skewers (see the picture for reference). It's easier to handle on BBQ if you make the skewers slightly open at the ending like a long V shape.
5. Prepare sauce. Mix all ingredients well in a small cup.
6. Place the skewed Tofu slices on BBQ - be careful not to turn around, leave them on for 10-15 minutes until the surface start to get slightly burned. Turn the side of Tofu time to time (just like any other BBQ things)
* For the top photo ones, I fried them on Teflon frying pan with high heat for about 15 minutes instead.

7. Place the Dengaku miso sauce over them. Some people brush the sauce on the Tofu and burn miso a bit on BBQ, I like it as the Photo with the miso totally soft. Just eat like any other BBQ things!

Alternative ingredients good with this sauce:
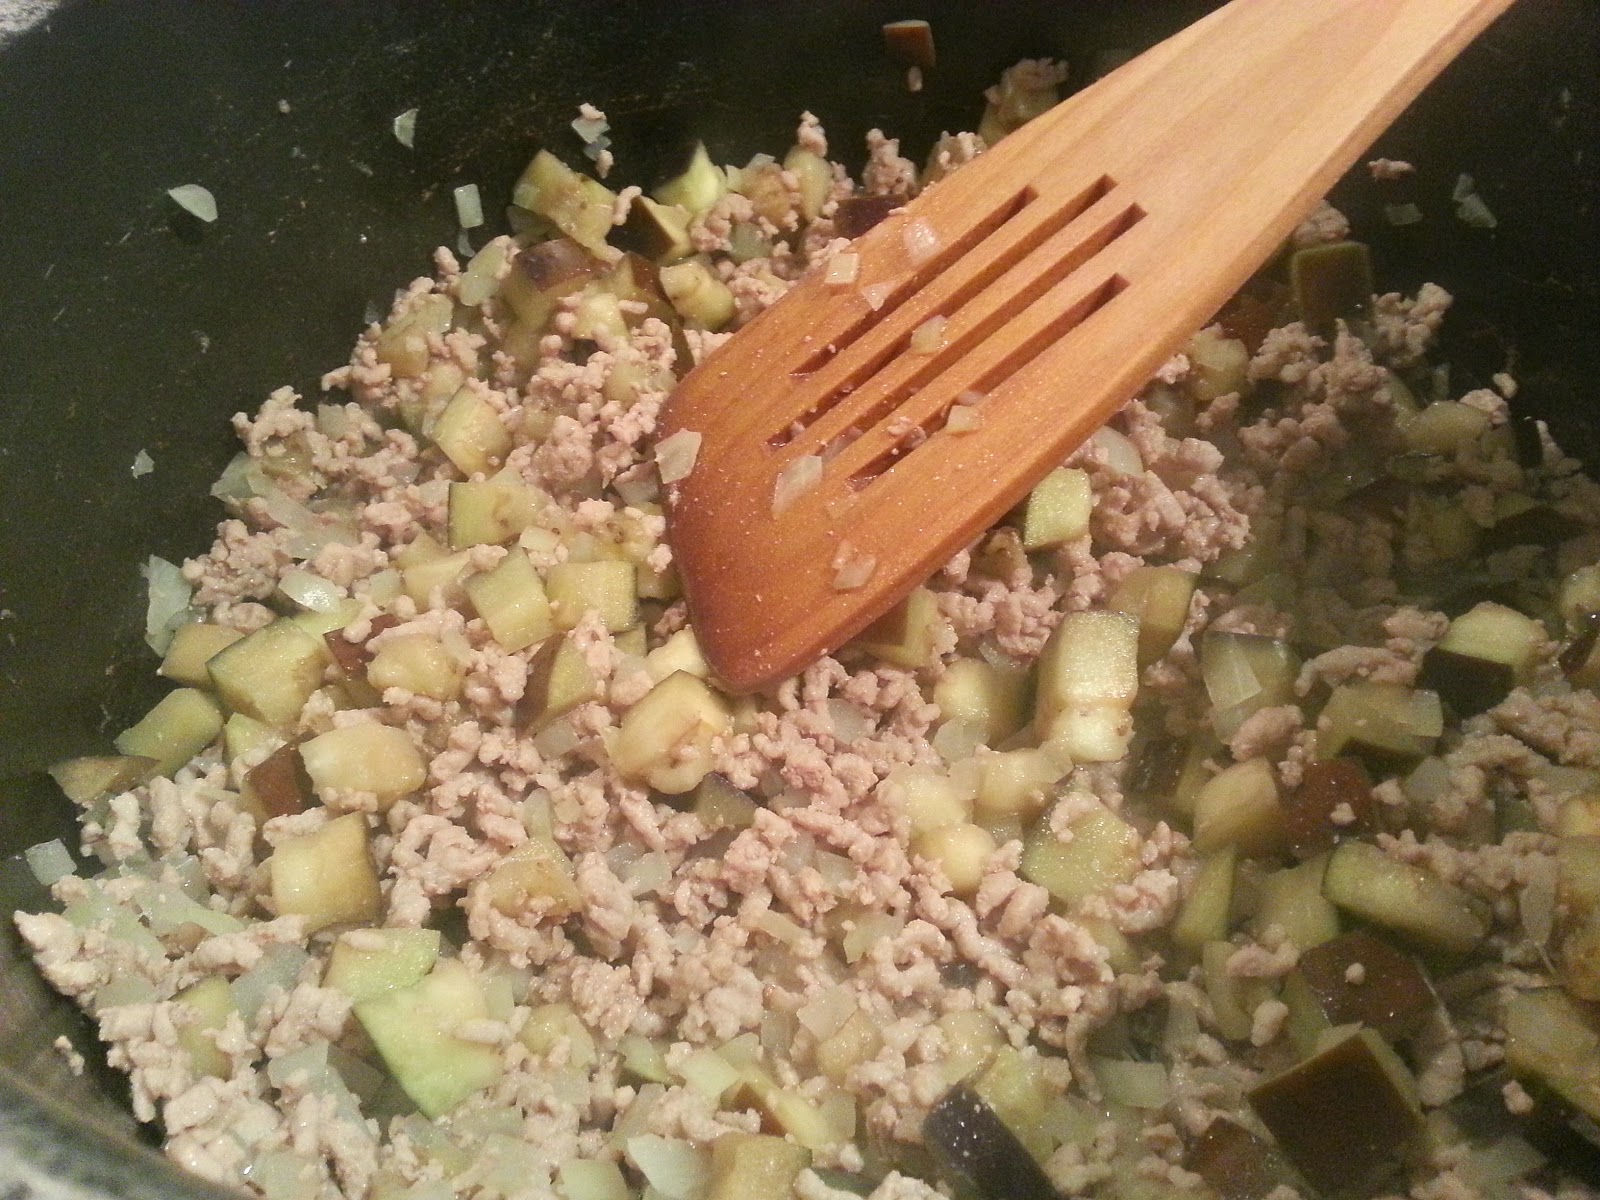
1. Aubergine - cut them into 6 slices, just like how you cut apples. Skew from the bottom of slice, where the skin is wrapping in curve, until top. BBQ in a same way as Tofu.
2. Leaks - cut it in to 3-4 cm longs, skew 5-6 of them from a side.  BBQ in a same way as Tofu.

Wednesday 9 April 2014

手羽餃子 - Chicken wing gyoza


This is one of my most favourite dinner, the taste is guarantee great, even better than the ordinal Gyoza, just takes much care and time.
It looks like just a fried chicken wing, but the inside the bag of skin is full of Gyoza meat filled.

Just dip in the same Gyoza sauce and bite on. Can't forget the taste, can't give up making it even it takes so much effort & time. (It took me 2 hours...)

Ingredients:
about 12 chicken wings (we use only the wing tip part)
a) 200 g minced pork or chicken
a) 1/2 Tbsp ginger minced
a) 1.5 garlic cloves minced (I love a lot of garlic in but this is totally how much you can take)
a) 4 cm leak white part minced
a) 1/2 Tbsp soy sauce
a) 1/2 Tbsp sake
a) 1 tsp sesame oil
a)  salt & black pepper
toothpicks - as many as the chicken wings, plus few for spare


Serving sauce
Soy sauce & sushi-zu (1 : 1)
few drops of chilli oil (La-yu)

Method:
1. Mix all ingredients with a) above, leave it a side.
2. Prepare chicken wings. Firstly clean all wings under running water, take off any visible feather or the root remained.
3. Cut out the wings in to 2 parts. We need only the wing tip and the next section, not the meatiest near the body section (I usually use the remained sections for Karaage). Open the joint between the thickest part and the next one, hold the thicker side by your left hand, slide the knife along with the holding thick part - so keep the most of skin on the other side. If you slide the knife straight down along with the thick part, that should hit the joint cartridge and should be easy to cut into two pieces.


4. Take off bones from the next section. Basically the part becomes a bag for the minced meat. Using a sharp knife, slides down the skin and meat about 1cm from the cut off joint, so the junction of 2 thin bones appear. On the junction at just between those 2 bones, slice down the knife and cut off the junction connecting those 2 bones, so those 2 thin bones become disconnected each other and free to move independently. Push down the meat around the top further, trim a bit using knife if you need.
5. Now stand the section - the cut off joint up. There are 2 bones, a thin bone and an even thinner bone there. Pull and open those bones apart from each other, to about 180 degree, with sliding down the meat around the thinner bone. This shouldn't be too hard. Now twist and screw the thinner bone for 360 degree, then the bone will be totally free to take off.

6. Now thicker bone. The skin is connected to the bone at only one side like a line. All other part are with meat just hanging around that. So using the sharp knife, take off the skin connection along the bone until half of the bone length. Now hold the wing tip by your left hand, hold the bone on your right hand, then snap  the joint to front, back , up and down, then twist the bone for 180 degree - now the bone is totally free from joint and easy to pull off.

* If you think the steps until here are too hard, just make them Karaage, because the most painful part is after this. 

7. Prepare toothpicks and a small spoon handy. Each chicken wing now has a cavity to fill with the minced meat mixture. But those still have chicken meat until near the end of the skin bags. Using the small spoon, push off the meat around the entrance of the skin bag and make clear of meat for enough space to close them later. Then using the same small spoon, push enough meat mixture into the cavity - fill as much as you can but think you have to close at the end; the skin is flexible and not easy to break or explode during cooking.
8. Just like sawing the clothes, saw together the mouth of each bag by the toothpick, about 3 stitches, so the open part of bag is closed and the contents cannot come out. Be really careful for not stubbing your fingers.

9. Now easy part. On a frying pan, put about 1 tbsp vegetable oil. If you are using Teflon frying pan, you don't need any oil. Turn on the heat to medium high, place all wings - thicker skin side down. Fry them until the down side gets brown, and then turn them over.
10. Once the other side also get brown, pour about 1/2 cup water in the pan then cap it, turn down the heat to medium and keep cooking for about 10 min. 
11. Take off the cap and continue cooking until the water is mostly evaporated. Keep in mind the water will get reduce, but oil will come out from wings, so drain the oil out if you don't like them. 
12. Serve them with steamed rice. Take off the toothpicks before you dig in!

Thursday 3 April 2014

ひき肉となすのカレーライス - Japanese minced meat & aubergine curry


There is a huge difference between Japanese curry and Indian original curry. Japanese curry is much thicker like stew, mild or not spicy at all compare to any other curries, usually chunks of vegetables and meats are in and served with rice on a plate, garnished by some pickles.
This has a really good reason and history behind it.
Curry was introduced to Japan by the UK trading ship about 200 years ago. That curry was a British curry, the earlier adapted style from colonies, which was more like a mixture of stew and curry powder.
Then after that style is imported to Japan, that British version is adapted again; it has been thickened by the flour and served with rice.

The Japanese Curry Rice is one of the most popular meal in Japan, very close to Ramen.
To make Japanese Curry you don't use spices, you use "Curry roux"; it's a block of instant curry sauce.
There are 2-3 big food makers proving the roux and they are dominating JP market, and, they are all more or less same taste; this means, every family in Japan eat mostly same taste curry at home.
We do mix the different company's roux and make "home special" but that doesn't make that much difference, unlike between masala and tkika. Small percentage of families may add some additional things in it, but not the thing you may consider for making curry; soy sauce, dashi, mayonnaise, and most unusual one, chocolate.

At the end, the real variations are created by what is cooked in the curry sauce.
Most basic ingredients are chunk of: carrot, onion, potato and beef or pork stew meat.
My minced meat & aubergine curry is a kind of unusual variety in Japan, it's much quicker to cook than the regular style one but the taste has nothing to compromise compare to the regular ones.


Ingredients (for 4-6 people):
1 pack Japanese curry roux (better if you can have half pack each of any 2 kinds)
500g minced meat (beef, pork or chicken. No lam. I used pork this time).
1 large aubergine
1 medium onion minced
enough water as the curry roux package states.
3 Tbsp vegetable oil
(optional) 1 tsp sake
(optional) 1 tsp soy sauce


Methods:
1. Dice the aubergine into about 1cm cubes. Put them in a large bowl of cold water, place a plate in the bowl over the floating cubes and push in; so all cubes can sank in the water. Leave it for 10 minutes then drain them by a strainer.
2. Put a large pot on a hob with oil, then turn the hob to medium high heat. Fry the minced onions for 5 minutes until it start to get brown.
3. Put all minced meat, fry them together, separate the minced meat to grains. I like to add sake here because that can reduce meat strong smell, but that's totally optional. Cook until all minced meat change the colour and cooked.
4. Drain the water well and put all diced aubergine in the same pot, fry them together until aubergine cubes get soft, for about 10 min.
5. Pour water in the pot as your box of curry roux says, skim the scum for first few minutes and cook it for another 10 minutes. (Package may say to cook for 1 hour, don't worry, that's the time takes for cooking chunks of veggies and meats, not applicable to today's cooking)
6. Meanwhile, slice the curry roux. Each curry roux box comes with 2 packs of curry bars, each bar is ready to break in to 4 pieces, and most of package says you can just add them as how it is. Truce is, it doesn't melt well always, a remained piece of roux looks totally like a chunk of been in the curry sauce; if you even once hit that in your mouth then you wouldn’t complain for this step. Put the bar on a cutting board and slice them as thin as you can.

7. Add the sliced curry roux in the pot, immediately mix them well in to soup. Cook for another 10- 20 minutes, until the aubergine gets really soft.
8. Curry rice serving style: serve a small mountain of rice on one side, then serve the curry on the other side.