Saturday, 5 January 2013

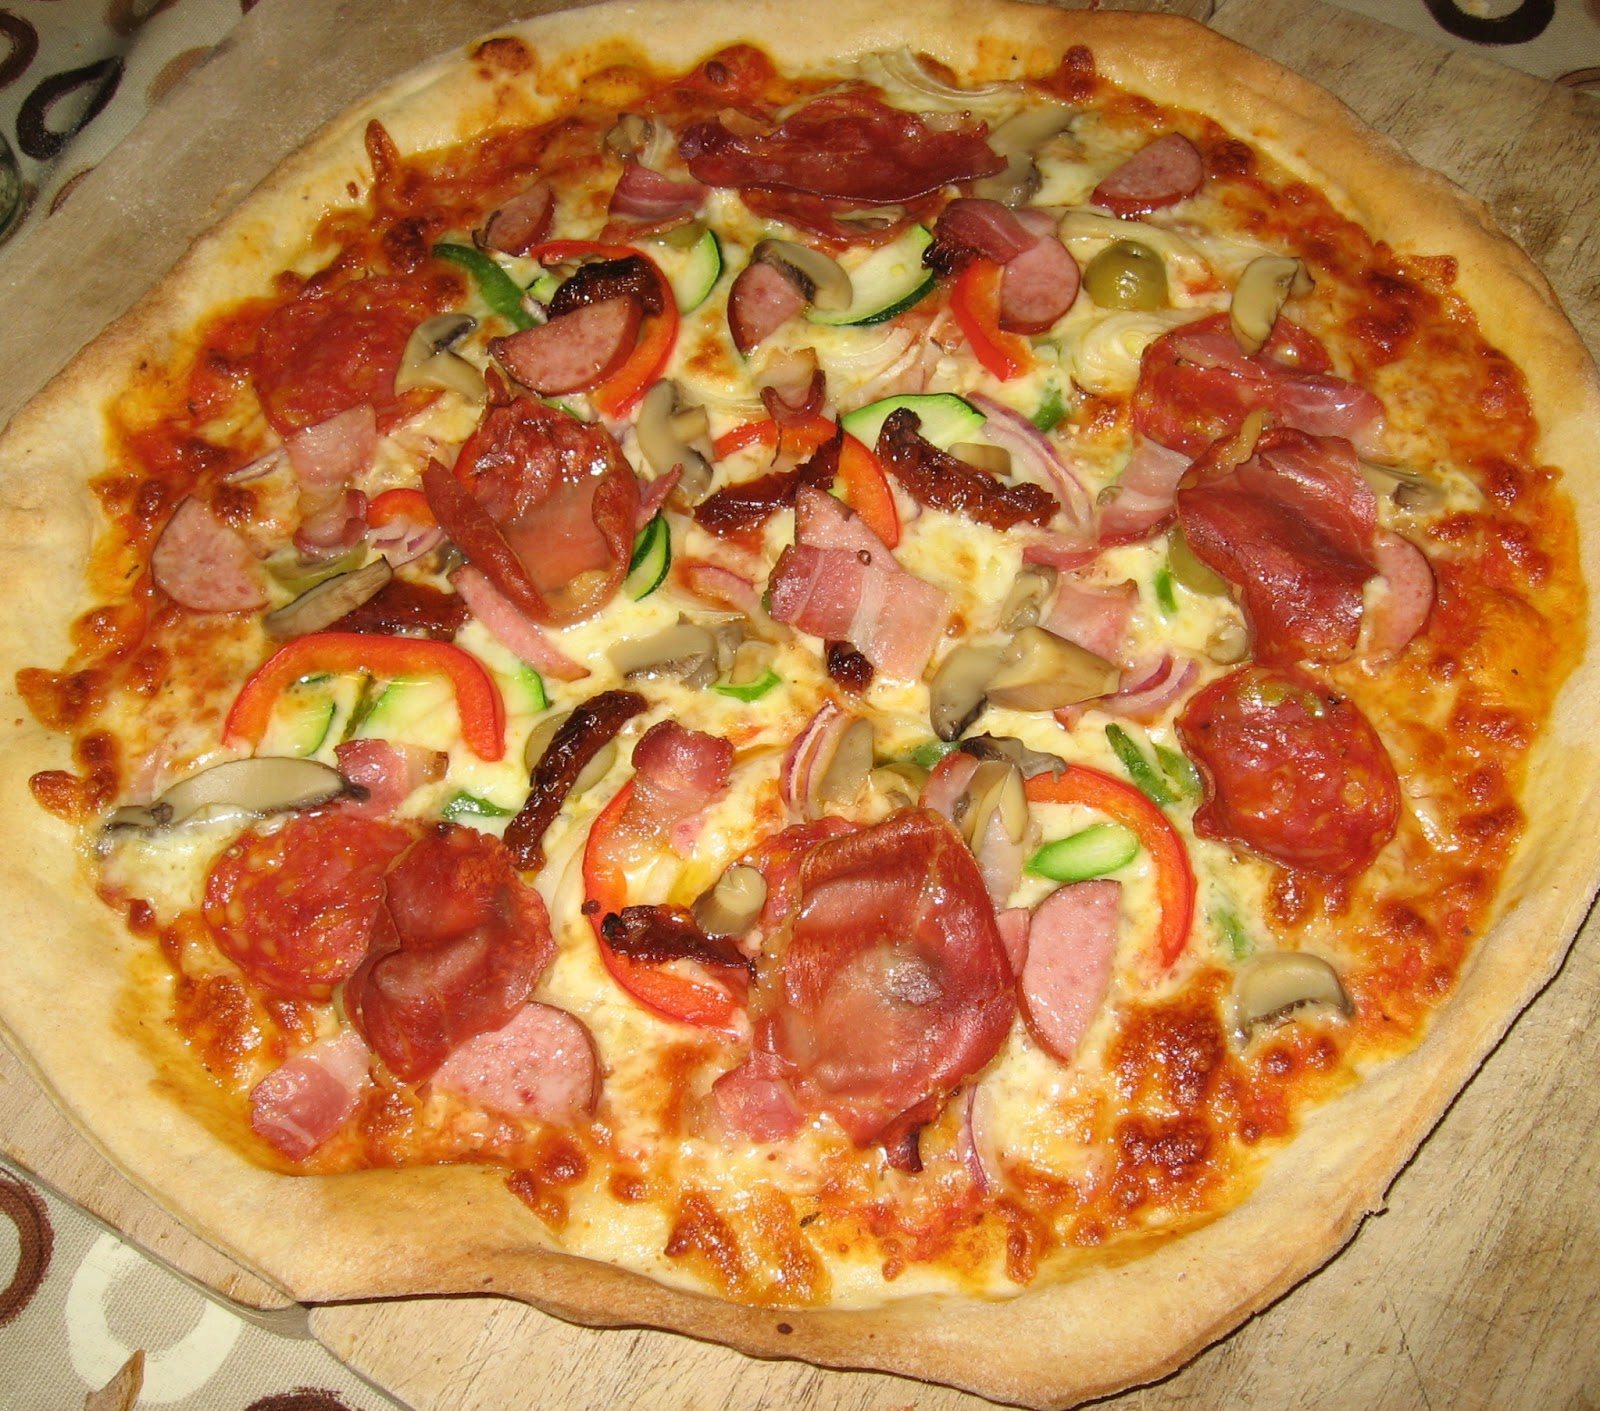
Home made Pizza dough - thin & crisp


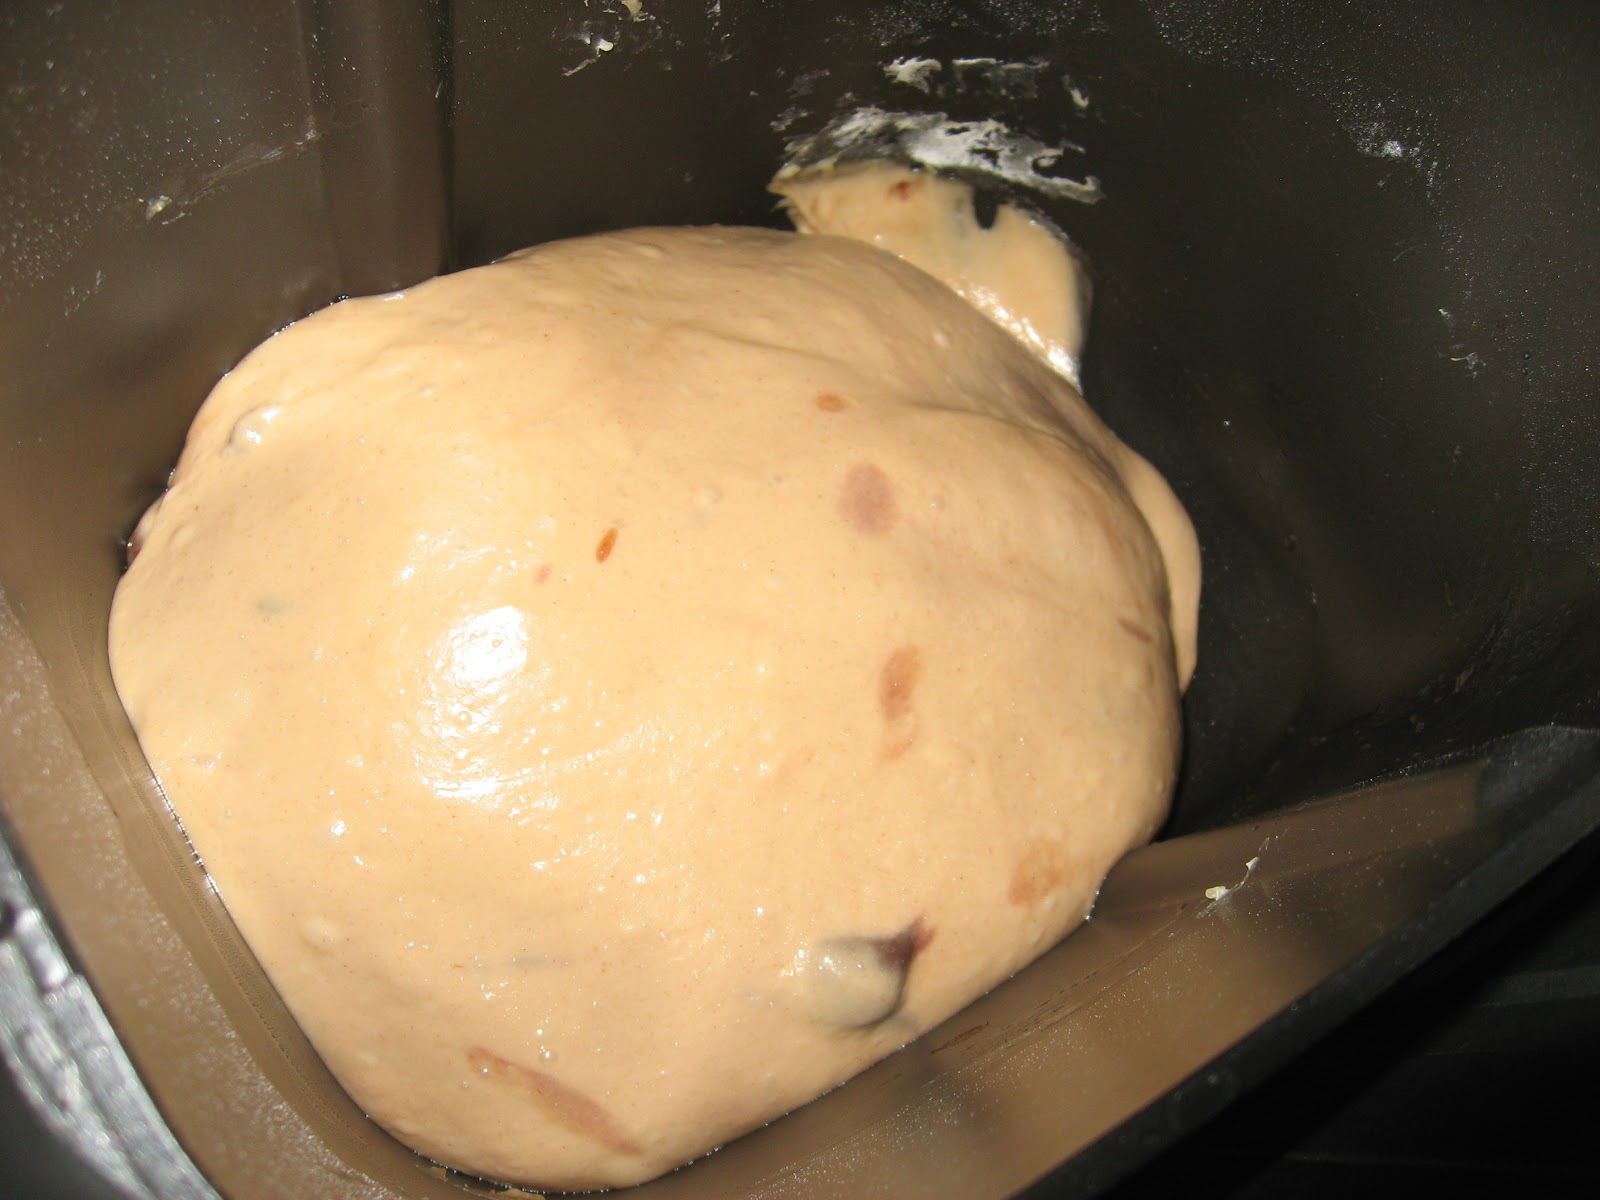
We had long painful days of kneading dough for pizza by hands. To my husband, the pain is not because of the hard work of kneading but because the outcome was so different depends on how he kneads and keeps the dough. When we choose this Bread Maker, this was definitely a solid motivate, to make consistent dough for our Pizza night. One small unseen problem was there; the Bread maker cannot make dough for more than 2 pizzas in once. Well, not difficult to resolve it, we just had to repeat the menu as many times, and keep the dough in same condition until start baking them when the last dough is ready.
Now the dough from BM is much smoother than the hand made one (due to our skill may be), it can rollout to really thin and crisp!

Ingredients (for 2 thin & crisp pizza bases)
A:
  1/2 tsp salt
  300g strong flour
  1 tbsp olive oil
  Grounded black pepper

B:
  170ml lukewarm water
  1/2tsp yeast
  1tsp sugar

 Method
1. Scale and put all ingredients under A: in bread pan in above list order.
2. Scale 170ml lukewarm water then pour the yeast and sugar, mix them well then pour it in to the bread pan.
3. Plug in the Bread Maker, place the bread pan in the BM, then select Pizza dough menu (Menu 22 for Panasonic SD-2501) and press Start button. Wait until the dough to be ready.

<To make pizza base>
1. Before dough become ready, scatter extra a hand full of strong flour on clean flat surface. You may need at least 40cm x 40cm clear surface for making dough.
2. Once the dough is ready (BM makes beeps), press the stop button, take the bread pan out from the BM, then take the dough out on to the floured table surface. Punch down the dough, cut it in to 2 pieces, and make them in balls then place one at aside.
3. Rollout one piece of dough in to roughly 25cm circle. Place it over the Pizza pan and cut off excesses using a knife. Now ready for toppings.

<To make more than 2 pizzas for one dinner>
1. Grease a baking tray or large plate with small amount of olive oil.
2. When the first dough is done, punch the dough in the bread pan, take the dough on to the greased tray then cut it in to 2 halves.  
3. Take a bit of olive oil on your hands from the grease then make each half dough in a smooth ball, place them on the plate then cover it with a clean tea towel. (Keep enough space for dough to grow)
4. Keep them in cool place. Repeat the same above method and keep add more on the tray in same way.
5. The dough made earlier get more fermented than the last ones and will be slightly loose to handle. You may want to kneed it after punching the dough for a bit before rolling it out.

Japanese Marinated Salmon Salad


My cooking recipe from my Japanese happy new year meal. Just like the most of my recipes, majority of ingredients can be found at any local stores in UK.
Because the salmon will be cut into cubes and deep fried, you can use any cheep part of salmon fillets.

Ingredients:
  400g salmon fillet (skinned)
  1 small onion (sliced)
  1/2 carrot (julienned or grated)
  1.5cm lemon peel (sliced)
  about 50g flour
  Vegetable oil (enough for your deep frying pot)
  1/2 sachet of whole dried red chili pepper (Optional)

for Sushi vinegar
  100ml rice vinegar
         or Aspell Sauvignon Blanc White Wine Vinegar is most similar to Japanese rice vinegar in UK
  120g sugar
  30g salt

  A small piece of dried Kombu (Optional)

Prep: 
Clean all salmon fillets under running cold water, take any visible scales or fat on the surface. Dry the fillets well on kitchen papers. Some of fillets might have some bones left between meats; pull them out if you find any. If the fillets have skins then take them out too. Cut them into about 2-3cm cubes.
Cut the onion in half then slice them thin - if you cannot by knife then use slicer.
Cut 1/2 carrot into Julienne. Cut the lemon peel into thin slices.
If you have dried red chili, take all seeds out from the 1/2 chili sachet then slice that into thin rings.

Method
1. Place all flour in a large bowl, put all salmon cubes then mix them well to coat all side of salmon cubes by the flour.
It is easier and saves flour if you have a large bowl with a lid; you'll need only about 30g of flour, place it and  salmon in the bowl then shake the bowl with lid on.
2. Deep fry the salmon cubes in vegetable oil on medium high heat. Put few cubes in once every time, until each cube start to change the coating slightly brownish. Prepare a kitchen paper on a large strainer or plate then place the salmon cubes once it's fried.
3. Make sushi vinegar. Put rice vinegar, sugar and salt in a small pot. If you have kombu, you just need as small as your pinkie nail size, place it in the pot too. Kombu adds the vinegar more deeper and softer tastiness.
4. Place the pot on a hob and heat it to medium low. Stare them and make sure all sugar melts, take the kombu out before the vinegar start to boil. stop the heat as soon as the vinegar start to boil with small bubbles.
5. Place the sliced onion, grated carrot and lemon peel in a plastic container, place the boiled kombu if you used, then deep fried salmon and dried red chili rings (if you have) over them, then pour the sushi vinegar over them.
6. Marinate them in the room temperature for first 1 hour (this will cool down the salmon and sushi vinegar too.) Mix the sliced vegetables and salmon once so it will marinate evenly, then place the container in fridge and marinate them for at least another 1 hour, or even better for overnight.
7. To serve, place salmons first on plate, vegetables (but not kombu), then garnish the top with the dried red chili pepper rings.

* This salad is a kind of preserving Japanese cousin. You can keep 3-5 days (depends on season and freshness of salmon) in fridge without problem.
* Any fish the same but the fish meat will smell stronger after cook if you don’t clean them under cold water and dry them well before cook.

Thursday, 3 January 2013

Experiment 1: Brioche

No picture taken.

Ingredients (Based on SD-2501 manual page 15):
  Yeast 1 1/4 tsp
  Strong White flour 400g
  Sugar 4tbsp
  Salt 1 tsp
  Butter 50g (Cut into 2 cm cubes and keep in fridge)
  Water 180ml
  Egg Medium 2 (beaten)
Adding for later:
  Butter for adding later 70g (Cut into 2 cm cubes and keep in fridge)

Recipe:
1. Cut the butter for adding later into 1-2 cm cubes and keep them in fridge (I did cut the butter for adding at beginning and later too.)
2. Put the Kneading blade in to the bread pan. (It has only one direction to slot in and not easy to lose)
3. Place the ingredients in the bread pan in the order listed in the recipe. (I followed this but then the dry yeast was under all other ingredients and not expose to any liquid... would it be any kneading at the beginning phase?)
4. Set the bread pan in to the machine, and plug the machine.
5. Select menu 11 ( ... I made mistake here, selected menu 23 looking at the menu page which is to make bread dough but not baking...)
6. Press Start pad to start the machine. (Start light came on, but no movement. Touched the body of machine but it was still cold. I was afraid to open the lid so kept staring at the timer panel then the indicated time start to drop down. Good it was working.)
7. Adding additional butter when the beep sounds, then press Start pad again. (Beep was kept repeating until I opened the lid. I opened the lid - the dough was already smooth and like a ball - added the butter 70g directly from fridge, closed the lid and pressed the Start button...again no reaction. The timer started moving down again so I left the machine on work.)
8. Press Stop pad and remove bread pan from the bread maker. (Indeed we should press stop button first. The machine let us know this timing by beep sounds but it keeps beeping until pressing the stop button regardless the lid is opened or taking the pan out from the machine. By the way I realise the lid has no locking system. It can open any time.)
9.  Remove the bread from the bread maker and place on a wire cooler. (You better have 2 mittens. Some blog pointed the bread is not easy to come out stacking to the bread kneading blade, that didn't happened to me. but the handle of the bread pan gets lose on the center of coming out way and upset me because the bread was hot and soft, I thought the handle will break the loaf in to 2 halves. The handle doesn’t stop at the side of bread pan and not simple to hold it in one way when the pan is hot and your are holding the pan in one hand and bread in another in a quick work. The bread had a visible small hole at the bottom of the loaf but the blade cut was almost invisible which was amazing. Of course I placed the hole at the bottom on the cooling wire.)


My note:
My blog date and time is not ordered in the correct real time line but this was the first baking using this shiny new machine.
I ordered a loaf pan with a lid to make square sandwich bread with the machine but it hasn't been delivered yet, which understandable considering the holiday season. So I'm not starting any real white bread baking yet.
The machine is very simple if you want to make bread from the menu selection listed in the manual came with the machine. The menu had few "not clear" points but somehow I could work out using a common sense. (but added few of them align with the original instruction within the brackets, it might help other new starters?)
Now, as I mentioned at the step 5, I miss selected the menu 23, so the machine stopped by 35 minutes after adding butter cubes. It wasn’t in my plan but I decided to shape them and bake them separately.
I put some strong flour on kitchen table and took out the dough. The dough was not puffy as usually our pizza dough become, but very lose. I wasn't sure if the dough had full rise phase by the menu so I decide to try 2 methods. Firstly I placed the whole dough on kitchen table, puffed out the air then put 1/3 of them aside, cut the other 2/3 of dough into 6 pieces. Loosely rolled up those dough balls then placed back to the bread pan in 2 lines (I saw this method in another web recipe somewhere). Then placed back the bread pan in the machine, started again the baking selecting the Menu 15, the baking only mode, set the time to 35 minutes (as the time indicated in the Brioche menu in Menu 11 in the manual).
Then I cut the remained 1/3 of dough into 2 equal balls of dough, then stretched then in about 30 cm length each.
Closed the starting and ending of those 2 lines of dough by fingers very well then twisted that few times.
I placed the dough in an oiled baking loaf tin, then brushed the top of dough with maple syrup and a egg yolk smoothing the surface of it. Placed the loaf tin in the oven and heated to lower than 50 degree (my oven doesn't have notch between off and 50 degree). After leaving the dough for another 30 minutes, turned the oven up to 180 degree, baked it for about 30 minutes.
So basically I tried 2 pieces of dough with and without the another rise time, to see if the dough mode included enough rise time.
The results were; the brioche from the oven was very nice texture, added maple syrup was definitely a good idea. The brioche from the BM became much dense and less sweet.
I'm sure the dough mode does not include a length of rise time required for this dough before start baking it; which may be by design as the dough mode is for the baker to knead and form them in shape, usually requires the 2nd rise period before bake.
I'm not sure the rise was connecting to the final difference of the sweetness of the brioche taste, I need more experiments.  I also don’t know if I wanted to just put it back to BM to finish the job then how I could rise the dough without BM menu (SD-2501 does not have any rise only menu according to the manual).
Need more experiments.
Experiment 2: Nuts and Granola Wholemeal Bread


Inglideants: (based on SD-2501 manual P.24)
  Yeast 3/2 tsp
  Strong Wholemeal flour 400g
  Suger 1tsp
  Butter 15g
  Salt 1tsp
  Sesame seeds 2tbsp
  Water 300ml

Raisin:
  Walnuts about 1tbsp (chopped)
  Granola about 2 tbsp (used Ligis Granola original)

Recipe:
1. Place the measured ingredients in the bread pan in the order from above list.
2. Plug the BM and place the bread pan in the machine then close the lid.
3. Open the top lid, place the Raisin ingredients in the raisin nut dispenser then close the lid.
4. Select a whole wheat raisin menu (Menu 06 for Panasonic SD-2051).
4. Select medium size then press Start button.
5. Wait for 5 hours, until the machine beeps.

My note:
This was a first trial of bread baking mode. I could see the machine didn't start kneading for a quite long while at the beginning, that does not make sense unless the period is fermenting the dry yeast by sugar and water.
I checked the manual in the Japanese version and the model had the yeast dispenser and the dispensing of yeast was set at the middle of first dough kneading phase.
I guess I'll try from changing the order of adding yeast to just before water next time.
Granola was very nice in the bread, not hard but remained the grain texture.
The mode didn't give me a crust mode choice, the crust became slightly harder for me but my husband was happy with that.
The bread was much softer than I expected in beginning, which made me happy because that was why I didn't like wholemeal breads much.
My mother in law told me that I should wait cutting the bread until the bread gets cool enough so we waited about 1 hour before cut. We put the bread in a plastic bag but she told me that we should not close the bag until the bread become totally cool.I gave a half of loaf to my parents in law and the rest of a half loaf stayed soft until next day. Very nice with a slice of smoked ham for breakfast!

Wednesday, 2 January 2013

Chocolate and Honey marble Brioche


Ingredients:
A:
  Strong White flour 400g
  Sugar 4tbsp
  Salt 1tsp
  Skimmed milk powder 2tbsp
  Butter (Cut into 1 to 2 cm cubes and kept in fridge) 50g
  Dry yeast 1 1/4tsp
B:
  Water 100ml
  Milk 100ml
  Egg medium 2 (about 100ml)

for adding later:
  Butter (Cut into 1 to 2 cm cubes and kept in fridge) 70g
  Black chocolate 45g (I used 72% coco one. Break into 1 to 2 cm pieces)
  Honey (2tbsp)
  A bit of milk to smooth the surface of bread

Recipe:
Prep. Measure and cut butter into 1 to 2 cm cubes. Keep the 70g butter (for adding later) in fridge.
1. Place the bread pan on your scale then put the ingredients under A: in the order from the list.
2. Put the ingredients under B: in the order from the list into a measure cup, then beat them smooth in the measure cup together then add it in the bread pan.
3. Set the bread pan in to the BM. 
4. Plug the machine, select Brioche menu (Menu 11 for Panasonic SD-2501), select light crust and press Start button.

My note:
Machine starts from rest phase - which kind of no sense to me, looking at the same Panasonic BM family in Japan starts from kneading phase. To make this sense somehow, I thought the dry yeast must be in water so the yeast fermentation starts. Previous 2 breads I baked didn't rise enough, so I changed the order of adding them.
At the last 15 minutes or so, I realised the kneading started (I wasn't keep watching, need to check this next time).
55 minutes later, the machine beeped for adding butter

5. Adding the additional 70g of butter from fridge to bread pan when the beep sounds, then press Start button again. (Indicates timer 2:35)

My note:
One new idea I learn by the few days of research, which didn't occur to me and totally new for this type of machine, is that you can open the lid of BM anytime and that does not make much difference on the final results of the baking.
Because the machine keeps dough in a certain temperature to accelerate the fermentation, you don't want to keep opening the lid, but that still allow to look inside of BM or adding what you like during the machine still working by the timer.
So from here, my recipe is experiment more "adding" during the regular menu.
As a record, the machine was in rest for next 5 minutes from when the start button is pressed, then starting the alternative cycle of about 1minutes kneading + 20sec resting.
That cycle continued for the next 15 minutes.

6. 5 minutes after pressing the start button, add the chocolate pieces.

My note:
I was afraid the kneading will stop anytime soon, so I added them 5 min after the start. Because the chocolate pieces were too big, it was hitting the bread pan all kneading phase and I was afraid the chocolate might scratch the surface of the bread pan. But also I read a blog described that adding too small pieces too early caused the dough to become just chocolate dough. I might need to change this to about 10 min after but with slightly smaller pieces.
By the way, some of the added butter stuck at the top of bread pan when I opened and added the chocolate pieces. I pushed them down by finger but I guess it could have dropped eventually?  

7. Add about 2 tsp of honey on the dough in few times after timer goes to 2:14.

My note:
I actually added the honey after the raise started (by 1:28). That appears to me it resulted the dough to not rising as much as it should have been. This must be added at the very end of kneading time
Rise phase started by 2:16-15, then continued until 0:50 (so for 1 hour and 25 minutes).

8. Brash some bit of milk over the surface of dough at 0:50 when the baking phase starts.
9. Press stop button when the complete beep sounds. Take the bread pan out from the BM, take the bread out from the bread pan then put on a wire rack and leave it to cool down. Better not cutting them until the bread is enough cool, takes about 1 hour (depends on the loaf size and the room temperature).
10. Keep it in a plastic bag once the loaf is really cooled down.

My note - observation:
Outside - Added the honey by spoon and the brush of milk made a nice outside texture. The crust was slightly over soft and a bit of care was required to take the bread out from the pan. the crust is enough soft even after cooled down, no burned spot.
Inside - The dough became slightly darker in general by chocolate. The marble is much clear and nicely and thinly layered, it didn't have any big dots of chocolate - which means the timing and the size of adding chocolate was OK.
Taste - It's not enough sweet for us still, the level of salt taste give me the feeling of bread than a brioche. I will try with 5 tbsp sugar and 1/2 salt instead next time. The honey made a better sweeter spots on the top of bread, it might be better adding another 1 tbsp of honey with chocolate too. I guess using regular chocolate rather than the dark chocolate will make it better sweeter taste but then they will melt much earlier and cannot make marble texture.

Panasonic Automatic Bread Maker

After more than 6 months of detail research, finally I got my first automatic bread maker.
Yes the researching products were the last 6 month, but the real consideration started over a year ago.

First reason I started to checking around the bread makers was because an experimental baking of my first bread. Following a recipe from internet, the foccacio I made was much successful than I expected for the first time and gave me a huge satisfaction.
But I didn’t think I'll do it again because the shoulder ache I had after kneading the dough for hours.
Then my boss told me that his family have been using one of those machines and they are very pleased by the taste of home baked breads.
Actually my husband had another reason to desire this machine, he started to bake his handmade pizza lately and really tired of kneading dough so frequently.
Then the last year summer, I had a last kick. I realised how tasty the sandwich bread we bought in any super market in Japan when we visit our family there. 
The soft and very smooth texture with slightly sweet bread was so common to me when I was living in Japan and I never thought that was something special and awesome.
But after eating the sandwich bread from T*sco and ASD@ for almost a decade here in UK, I suddenly realised that baking bread myself has all chance that I can have the bread something near to what I used to eat in Japan.

So I researched through the machines and realise that some of Panasonic latest products are similar to the one sold in Japan and I might be able to use some functionalities or recipes available to those machines.

This is what we've got: 
Panasonic SD-2501WXC Automatic Bread Maker
Officially, it was a Christmas present from my husband to me, upon my detailed request :-)
This smart machine has 15 different baking modes (5 of them are variations of other 3 base kinds, plus one baking only menu), then 10 dough modes and 2 jam & compote modes.
It is not totally same but slightly similar to a Japanese marketed product call Panasonic Home Bakery SD-BMS105.
We ordered it through Amazon, and arrived to us on 27th December 2012 (was very quick delivery consider the holiday season): Great for me that I could play with this new toy whole through this holiday.

I'm pretty new to bread baking but I have been baking various cakes for over few decades so I thought it will be a piece of cake. I really under estimated the complexity and depth of bread baking world plus the baking machine complexity.
Actually the baking one of bread from the original menu just as described in the product manual was really simple. Put ingredients following the manual, select a right menu then press Start button. I could select the menu adding more things later etc.
But when I want to bake something what I already have the detail of final product (and the taste) in my mind, that became a totally different story. 

After baking 2 experimental breads, I researched again more than 100 pages of recipes and blogs and manuals in both Japanese and English web sites, I came to a conclusion.
This needs a long term study.

I have no doubt that I'll keep baking breads ever often and I need a research note and record. So I decide this will be my new blog to keep my record of baking breads and may be some other cooking.
I have no intention of bringing a lot of people here to show my recipes but decided to use this blog for my baking records for now. One day this blog might become helpful to other new starters, who knows.